How to Display UPI Tips in Superchat Style | StreamElements Widget
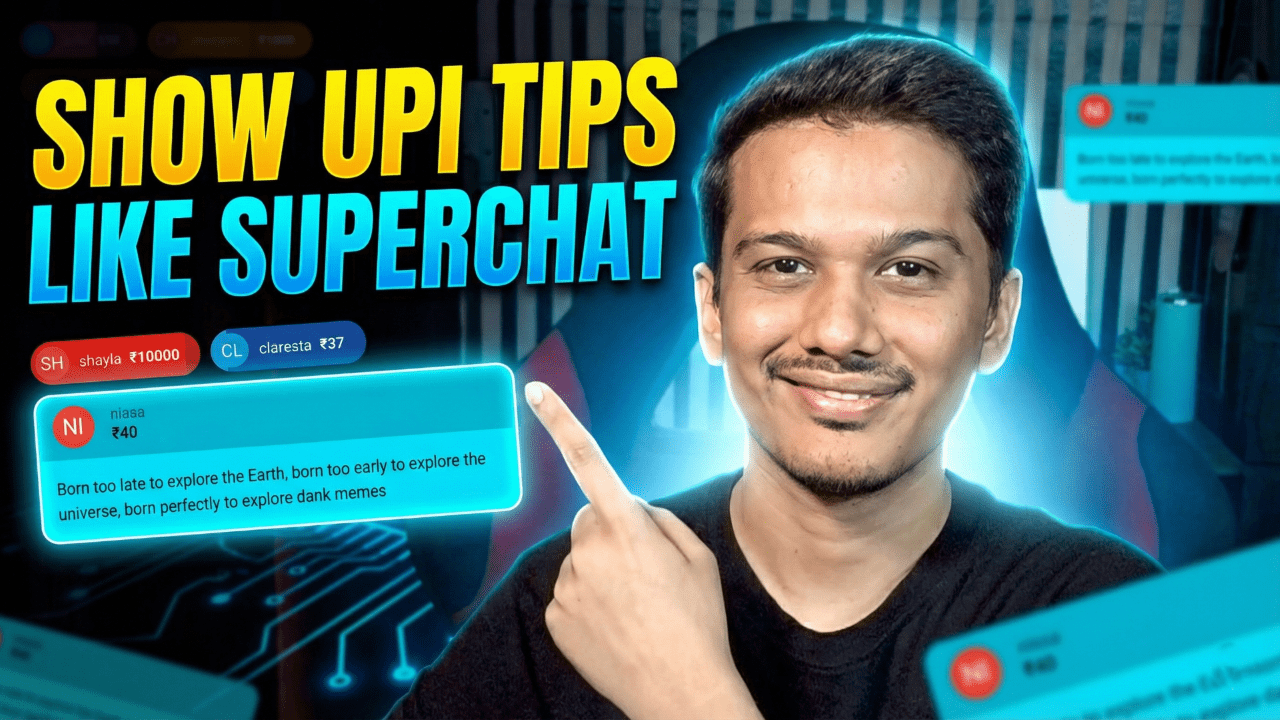
The Problem with Streaming in India If you are a live streamer in India, you know the struggle. You want to receive support from your viewers, but YouTube Super Chats take a massive 30% cut of your hard-earned money. That means for every ₹100 a fan sends, you only keep ₹70. That is why smart streamers are switching to blog.streamtipz.in/. StreamTipz allows you to keep 92% of your earnings (compared to YouTube’s 70% or other platforms that give you even less). Plus, the money is sent directly to your UPI ID daily without you having to request a withdrawal manually. But There Was One Problem… Until Now While StreamTipz solves the money problem, many streamers felt the alerts looked too simple compared to YouTube’s colorful Super Chats. You want that VIP feeling for your supporters, right? Today, that changes. I have developed a custom StreamElements Widget that bridges this gap. Now, when a viewer supports you on StreamTipz, it will appear on your stream in the exact same professional style as a YouTube Super Chat. Why You Should Use blog.streamtipz.in/? If you aren’t using StreamTipz yet, here is why you should switch: Features of This Custom Alert Box This widget is fully coded to make your StreamTipz alerts look indistinguishable from native YouTube features. 1. Unified Professional Look Imagine a viewer sends you ₹100 via StreamTipz. Instead of a generic alert, a beautiful Green Super Chat Card slides onto your screen. It displays their name, amount, and message exactly like a YouTube Super Chat. 2. Smart Currency Logic The widget is intelligent. It detects the value of the tip and assigns the correct “Super Chat Color” automatically: 3. The “Sticky Pill” Animation To keep your stream clean: 4. “Blast” Exit Animation When the alert is done, it doesn’t just fade out—it explodes into a burst of particles for a premium feel. Video Tutorial & Demo Want to see the “Particle Blast” animation in action? Watch my full setup guide here: Installation Guide (The “Two-Widget” Pro Method) To get perfect visuals alongside 100% reliable Text-To-Speech (TTS), we use an industry-standard trick: We will use one widget for the Visuals, and the native StreamElements AlertBox strictly for the Audio. Prerequisites: Phase 1: Setup The Visuals (Custom Widget) Step 1: Create the Overlay Step 2: Paste the Code Click on the empty box to open the Code Editor (on the left). You will see four tabs: HTML, CSS, JS, and Fields. You need to replace the default code in all four tabs with my custom script. 👉 LINK TO COPY THE CODE – CLICK HERE 👈 Password to open this file: “EXPOSUREEE” Step 3: Customize Visual Settings Click on the widget again and go to the “Settings” tab on the left. Phase 2: Setup the Audio & TTS (Default AlertBox) Because browsers sometimes block custom audio scripts, we will use the native StreamElements AlertBox to handle our Sound and TTS perfectly. Repeat Above Steps For Superchat Settings (Cog Icon) also.. Phase 3: Add to OBS Final Thoughts By combining blog.streamtipz.in/ for daily payouts and higher earnings, along with this Custom Widget for a premium look, you get the best of both worlds. If you found this code helpful, please subscribe to my channel EXPOSUREEE and drop a comment below! Happy Streaming!
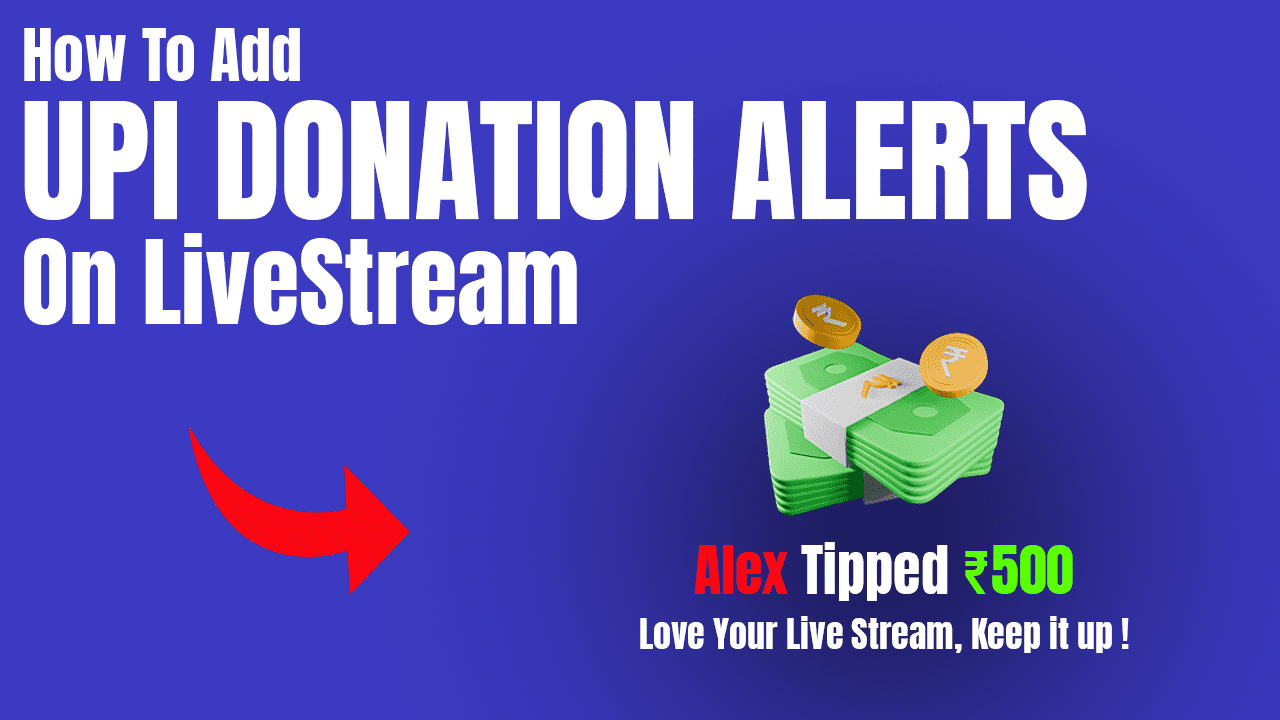
💸 How to Add UPI Donation Alerts on Your Live Stream with StreamTipz
Learn how to add UPI donation alerts to your live stream using StreamTipz. Get custom alerts, daily auto-settlements & StreamElements integration guide.
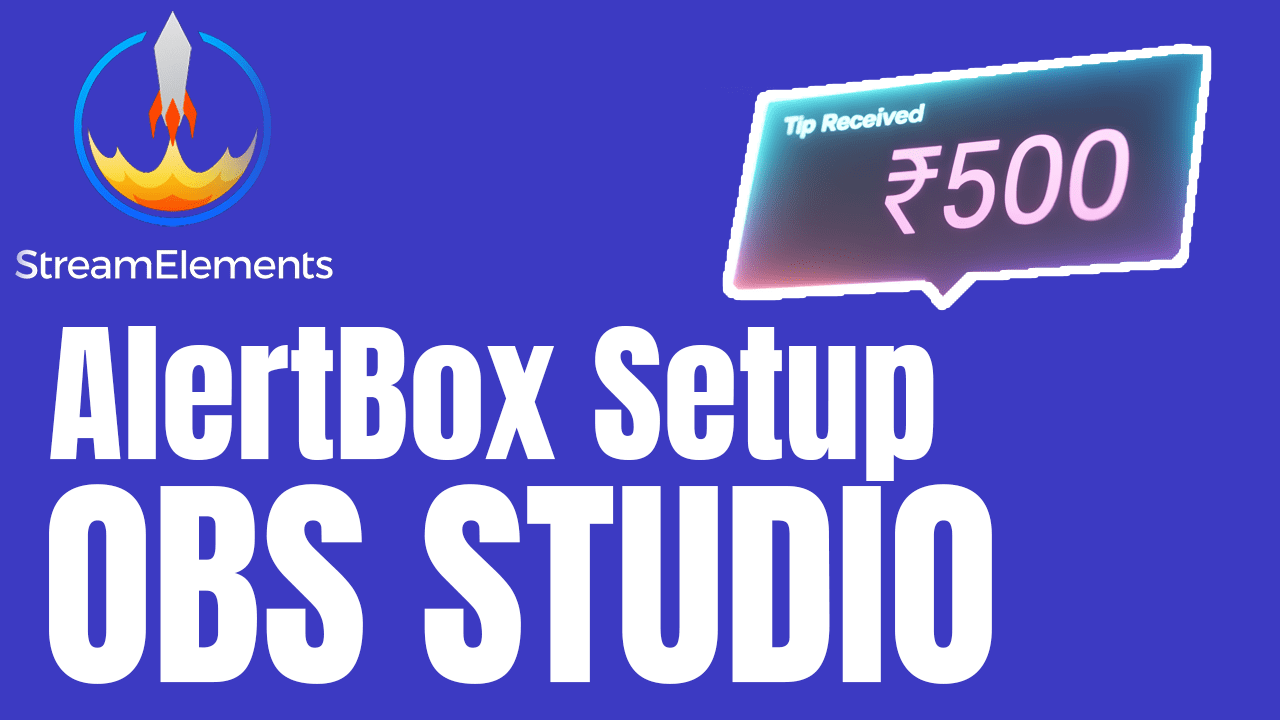
🎉 How to Add StreamElements AlertBox in OBS Studio (2025 Guide)
Log In to StreamElements Set Up Your AlertBox Widget Click on Start Add Alerts Widget Emulate and Test it Copy Your Overlay URL Open OBS Studio and Add a Browser Source Rename it and Click OK Paste the copied overlay URL into the URL field. If you’re a streamer looking to level up your stream with dynamic follower, subscriber, tip, or cheer alerts — StreamElements AlertBox is your best friend. This guide walks you step-by-step through how to add the AlertBox into OBS Studio, the most popular free broadcasting software. 🧰 What You’ll Need A StreamElements account (connected to your Twitch, YouTube, or Facebook) OBS Studio installed on your PC or Mac A stable internet connection 🔗 Step 1: Log In to StreamElements Go to https://streamelements.com. Click “Login” and sign in using your Twitch, YouTube, or Facebook account. StreamElements will automatically create a dashboard for your channel. 🎨 Step 2: Set Up Your AlertBox Widget Once logged in, go to the “Streaming Tools” → “Overlays” section. Click “Create Blank Overlay”. Choose your stream resolution (most common is 1080p or 720p). In the overlay editor, click the “+” icon, then choose “AlertBox”. Customize your alerts for: Follows Subscriptions Tips/Donations Cheers Raids You can edit images, sounds, text animations, and layout. After customization, click “Save” in the top-right corner. 🔗 Step 3: Copy Your Overlay URL From the overlay editor, click “Launch Overlay”. A new tab will open — copy the URL from the address bar.Example: https://streamelements.com/overlay/5fae1234abcd5678abcd1234 🖥 Step 4: Add the AlertBox in OBS Studio Open OBS Studio. In the “Sources” panel, click the “+” icon. Choose “Browser”. Name it something like StreamElements AlertBox and click OK. Paste the copied overlay URL into the URL field. Set the width and height to 1920×1080 (or your chosen resolution). Click OK. ✅ Step 5: Test Your Alerts Go back to StreamElements → “My Overlays”. Find your overlay and click “Edit”. In the editor, click the “Emulate” (⚙️ gear icon) at the bottom-right. Choose the alert type you want to test (e.g., “Follower Alert”). If set up correctly, you’ll see the test alert pop up in OBS Studio. 💡 Pro Tips Position your AlertBox using the red bounding box in OBS. Use transparent WebM or GIF animations for cleaner alerts. Set up a “Scene Collection” in OBS just for testing overlays. Add multiple StreamElements widgets to the same overlay for better performance. 🚨 Troubleshooting 🔇 No sound? Ensure browser source audio is enabled in OBS:Right-click the browser source → Properties → Check “Control Audio via OBS”. ❌ No alerts showing? Double-check the overlay URL and scene visibility. ⏳ Delayed alerts? Might be due to slow internet or server load—refresh OBS and try again. 🏁 Conclusion And that’s it! 🎉 You now have a fully functional StreamElements AlertBox in OBS Studio, ready to celebrate every follower, tip, or sub in real time. Customize it to match your stream’s branding and give your viewers the recognition they deserve! If this guide helped you, consider sharing it with a fellow streamer — and keep grinding. Your big moment is just one alert away! Need help with advanced custom overlays or OBS scenes? Drop your questions in the comments below. 👇 Happy Streaming! 🎥✨
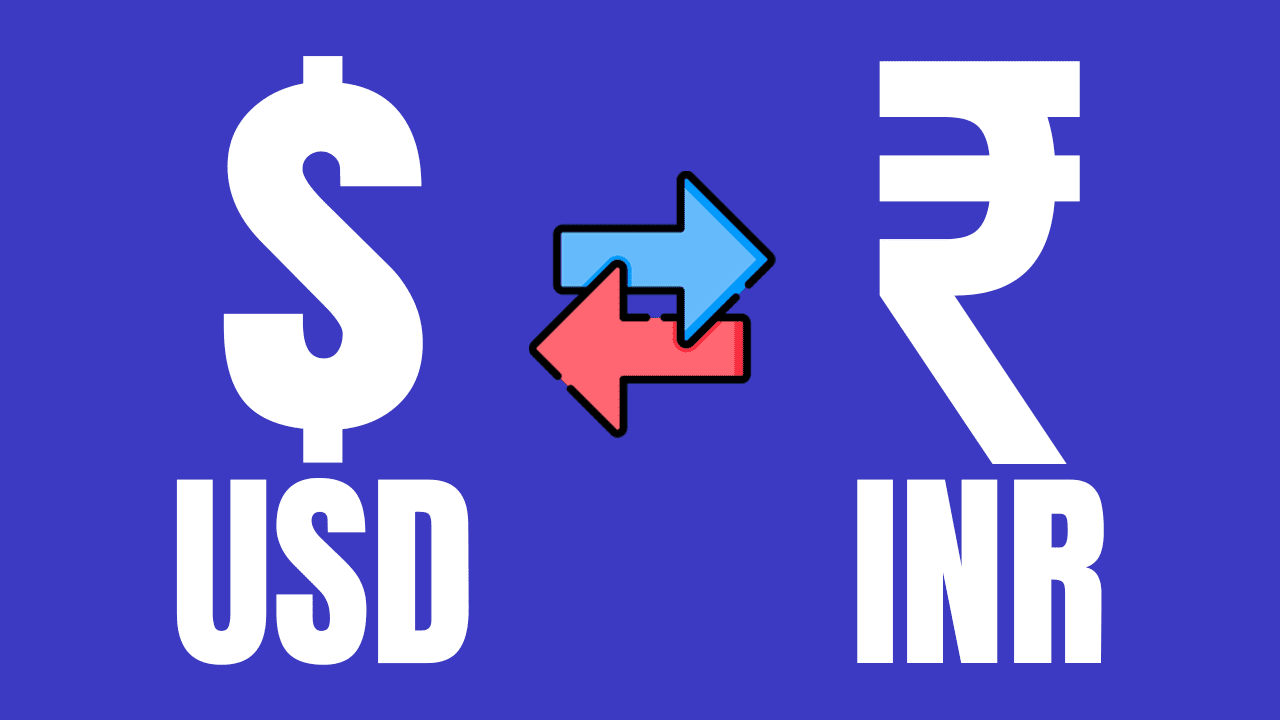
📌 How to Change Currency to INR in StreamElements Alerts ?
If you’re an Indian content creator or receive donations from an Indian audience, you might have noticed that StreamElements shows donation alerts in USD by default—even when tips come through platforms like StreamTipz. To make sure your alerts show the amount in INR (Indian Rupee) instead, you need to update your default currency settings in StreamElements. This not only looks better and more relatable for your Indian supporters but also makes the alert amounts clearer and more accurate. Just follow these simple steps to switch your alert currency to INR. ✅Step 1: Open the Tipping Settings in StreamElements First, log in to your StreamElements Dashboard using your YouTube Account Once you’re logged in, look at the left-hand sidebar menu. Here, click on Revenue to expand it, and then select the Tipping settings option from the dropdown. This section contains all the options related to tipping configuration. ✅Step 2: Scroll Down and Access the Page Settings Now that you’re inside the Tipping settings page, scroll down slowly until you see a section titled Page Settings.If this section is collapsed, click on it to expand and view the full settings.This area allows you to configure various options related to how your tip page looks and functions—including setting the default currency. ✅Step 3: Change the Currency to INR (Indian Rupees) Inside the Page Settings section, you’ll find a field labeled Currency at the top.Click on the dropdown menu that currently shows the default currency (like USD).Now, scroll through the available list of supported currencies and select INR (Indian Rupee).This will ensure that all future tipping amounts shown on your alerts and tip page are in INR.Make sure to save the settings if required. ✅That’s it! You’ve successfully changed your tipping currency to INR.